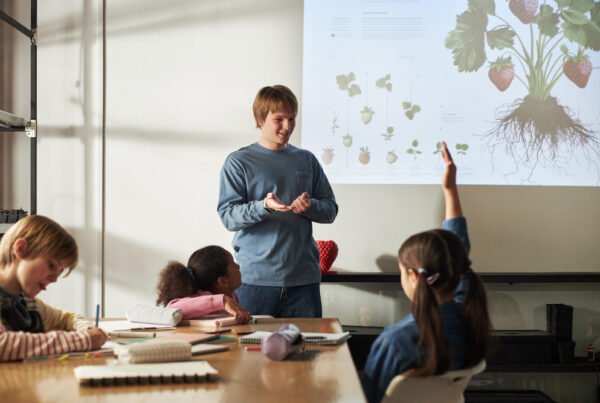
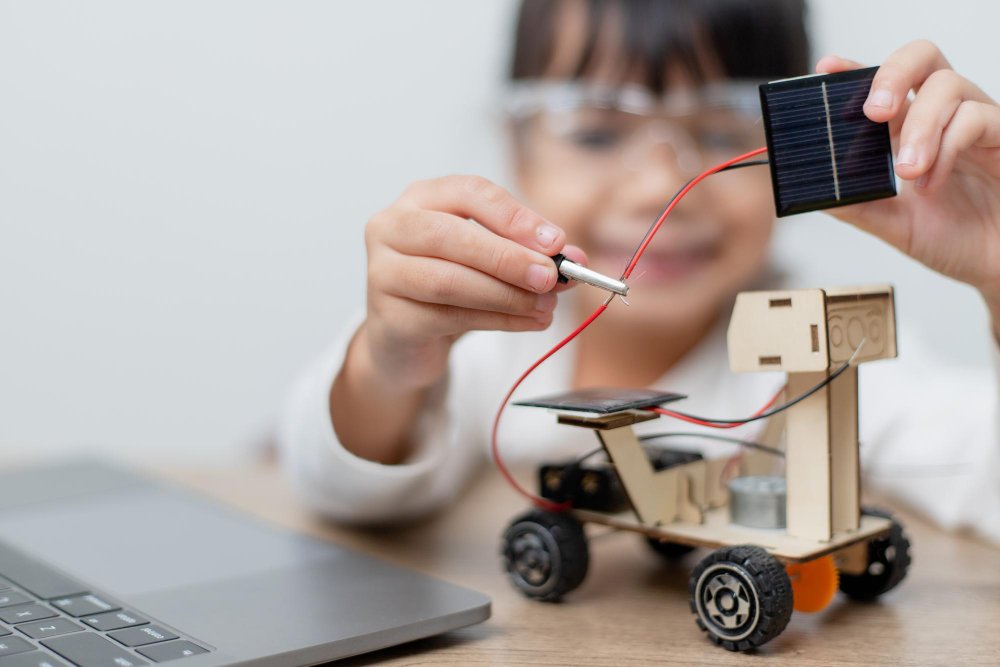

A good school project does more than earn a grade. It gives you a chance to investigate a question, build something, test an idea, solve a problem, or present what you have learned in a way that makes sense to other people.
The difficult part is often getting started. You may have dozens of possible school project ideas for students but no clear way to decide which one is realistic. Or you may have a topic but still wonder, “What am I actually going to make?”
This guide takes you through the entire process—from finding an idea to planning, creating, testing, and presenting your finished project. You will also find practical project ideas that can be adapted for middle school, high school, or more advanced assignments.
Step 1: Understand What the Project Actually Requires
Before brainstorming exciting ideas, read the assignment carefully. A creative idea is only useful if it meets the requirements your teacher has given you.
Start by identifying the basic rules.
- ✓ What subject is the project for?
- ✓ What is the main learning goal?
- ✓ Are you working individually or in a group?
- ✓ What is the deadline?
- ✓ Is there a required format?
- ✓ Do you need to conduct research?
- ✓ Are sources or citations required?
- ✓ Do you need to give an oral presentation?
- ✓ Is there a grading rubric?
- ✓ Are there restrictions on materials, topics, or project size?
For example, “Create a science project” is very different from “Design an investigation that allows you to change one variable and record observations.” The second assignment requires an idea that can actually be investigated.
Tip: If your teacher provides a rubric, use it before choosing your topic—not just after finishing the project. The rubric tells you what your final work needs to demonstrate.
⚠ Common Mistake: Do not choose an idea simply because it looks impressive online. First make sure it matches the assignment, your available time, your skill level, and the materials you can realistically obtain.
Step 2: Choose the Type of Project You Want to Create
Once you understand the assignment, decide what kind of work would fit it. Different project formats let you demonstrate different skills.
Here are several useful categories to consider.
Research Projects
Choose a question, investigate reliable sources, compare information, and present what you discover.
Possible ideas:
- Investigate how advertising techniques influence consumer choices.
- Compare how two historical sources describe the same event.
- Research how a local community has changed over several decades.
- Investigate how technology has changed a particular profession.
- Compare different approaches to reducing household waste.
Science and Observation Projects
These projects involve investigating a question through safe experiments, measurements, observations, or data collection.
Possible ideas:
- Compare how different conditions affect seed germination.
- Measure how different materials reduce sound.
- Observe how shadows change at different times of day.
- Compare evaporation under different safe environmental conditions.
- Investigate which paper structure supports the most weight.
Safety Note: Choose age-appropriate investigations. Projects involving electricity, flames, hazardous chemicals, sharp tools, microorganisms, or potentially dangerous equipment should only be attempted when specifically approved and properly supervised by a qualified adult.
Technology and Coding Projects
A technology project does not have to involve building an advanced application. A small project that works and demonstrates a clear concept can be more valuable than an ambitious project that never gets finished.
Ideas include:
- Create a simple educational quiz.
- Build a basic personal portfolio webpage.
- Design an interactive vocabulary practice activity.
- Create a simple calculator or unit converter.
- Build a digital study planner prototype.
- Create a basic interactive story.
Creative Projects
Creative projects can combine academic content with writing, design, art, photography, audio, or storytelling.
Consider:
- Create an illustrated timeline of an important historical period.
- Design an infographic explaining a scientific concept.
- Write a short story inspired by a historical setting you researched.
- Create a photo essay about patterns, architecture, nature, or community life.
- Design a poster campaign around a school or community issue.
- Create a short educational comic that explains a difficult concept.
Practical Problem-Solving Projects
Start with a real problem and develop a realistic solution.
For example:
- Design a better organization system for a student desk.
- Create a plan for reducing paper waste at school.
- Develop a simple homework tracking system.
- Redesign a confusing school information sheet to make it easier to understand.
- Create a low-cost study station for a small space.
- Develop a plan for welcoming new students to a school.
These projects are useful because they encourage you to think beyond “What information can I collect?” and ask, “What problem can I understand and improve?”
Step 3: Turn a General Topic Into a Specific Project
One of the biggest project-planning mistakes is choosing a topic that is too broad.
Imagine your topic is “space.” That might be interesting, but what exactly will your project accomplish?
You could narrow it to:
- How astronauts exercise in microgravity;
- how scientists search for planets beyond our solar system;
- a scale model explaining the relative distances of selected planets;
- a comparison of robotic and crewed space exploration;
- how satellites support everyday communication.
A useful formula is:
Broad interest → specific question → final product.
For example:
Broad interest: Environment
Specific question: Where does our household create avoidable waste?
Final product: A one-week waste audit with charts and a practical reduction plan.
Or:
Broad interest: History
Specific question: How did a particular invention change everyday life?
Final product: An illustrated timeline and short presentation based on researched sources.
Tip: If you cannot describe your project in one or two clear sentences, your idea may still be too broad.
Step 4: Test Whether Your Idea Is Realistic
Before committing to an idea, perform a quick feasibility check. This can prevent you from discovering halfway through the assignment that your project requires unavailable materials, too much research, or skills you do not yet have time to learn.
Ask yourself:
- ✓ Can I complete this before the deadline?
- ✓ Can I find trustworthy information about the topic?
- ✓ Can I obtain the necessary materials?
- ✓ Is the project appropriate for my current skill level?
- ✓ Can I complete it safely?
- ✓ Does it meet the assignment requirements?
- ✓ Can I explain what I learned from doing it?
Give special attention to time.
A project that requires collecting observations for three weeks will not work well if it is due next Friday. A complicated coding project may be unrealistic if most of your available time would be spent learning the software rather than investigating the assignment topic.
⚠ Warning: Ambition is useful, but an oversized project can become a problem. A smaller project completed carefully, tested properly, and explained clearly is often a better learning experience than a huge unfinished project.
Step 5: Write a Simple Project Plan
Once you have chosen your idea, resist the temptation to immediately start making the final product. Spend a few minutes planning first.
Your project plan should answer five basic questions:
- Goal: What am I trying to investigate, create, explain, or solve?
- Output: What will I submit or present?
- Resources: What information, tools, and materials will I need?
- Tasks: What must happen between now and completion?
- Deadline: When should each major task be finished?
Suppose you decide to create an infographic about sleep habits and student routines. Your plan might include:
- Clarify the question you want the infographic to answer.
- Find credible sources.
- Take research notes.
- Identify the most important points.
- Sketch the infographic structure.
- Create the first version.
- Check facts and citations.
- Improve readability and design.
- Proofread the final version.
Now you have a sequence of manageable tasks instead of one intimidating instruction: “Finish project.”
Step 6: Break the Deadline Into Smaller Milestones
Waiting until the final few days creates unnecessary pressure. Instead, work backward from the deadline.
If you have two weeks, for example, your schedule could look like this:
- Days 1–2: Choose and approve the topic.
- Days 3–5: Research and gather information.
- Day 6: Organize findings and create an outline.
- Days 7–9: Build or write the first version.
- Day 10: Test, review, or get feedback.
- Days 11–12: Revise and improve.
- Day 13: Proofread and prepare the final presentation.
- Day 14: Submit or present.
Your actual schedule may be different. The important idea is to create checkpoints before the final deadline.
Tip: Give yourself a personal completion deadline slightly earlier than the official deadline when possible. That creates room for technical problems, missing materials, revisions, or other unexpected issues.
Step 7: Research Before You Build
Many projects become easier when you understand the topic before creating the final product.
Start with questions rather than collecting random information.
For example, if you are researching renewable energy, your questions might include:
- What energy source am I investigating?
- How does it generate usable energy?
- What conditions does it require?
- What are its major advantages?
- What are its limitations?
- Where is it currently used?
- What claims need verification?
As you research, record where important information came from. This is much easier than trying to reconstruct your sources after the project is finished.
⚠ Common Mistake: Do not copy paragraphs into your project and assume that counts as research. Read the information, understand it, take useful notes, compare sources when necessary, and explain the important ideas in your own words while providing citations when required.
Step 8: Create a Rough Version First
Your first version does not need to look polished. Its purpose is to make the project real enough that you can see what works and what needs improvement.
Depending on the project, a rough version could be:
- a sketch of a poster;
- a presentation outline;
- a rough essay draft;
- a basic model made from inexpensive materials;
- a simple working version of a program;
- a storyboard for a video;
- a draft infographic;
- a preliminary data table.
Creating a rough version early gives you time to change direction.
For example, you may discover that your presentation has 20 slides but only five minutes of speaking time. It is much easier to solve that problem while working with an outline than the night before your presentation.
Step 9: Test Your Project Like Someone Else Will Use It
Do not evaluate your project only from your own perspective. You already know what you intended to communicate, so missing explanations may be difficult for you to notice.
Test the project based on its format.
For a presentation:
- ✓ Can you deliver it within the required time?
- ✓ Are the slides readable?
- ✓ Can you explain the topic without reading every sentence?
- ✓ Does the audience understand your main point?
For a model or prototype:
- ✓ Does it demonstrate the intended concept?
- ✓ Is it stable enough for the demonstration?
- ✓ Can you explain why you designed it this way?
For a research project:
- ✓ Does each major claim have appropriate support?
- ✓ Are your sources clearly recorded?
- ✓ Does your conclusion actually answer your original question?
For a coding project:
- ✓ Does the main function work?
- ✓ What happens when a user makes an unexpected input?
- ✓ Can another person understand how to use it?
If possible, ask another person to review your work. Instead of asking only, “Do you like it?” ask specific questions such as, “What do you think the main point is?” or “Which part was difficult to understand?”
Step 10: Improve the Project Using Feedback
Revision is not limited to writing assignments. Almost every project can be improved after the first version.
Look for three kinds of improvements:
- Accuracy: Are the facts, calculations, explanations, and citations correct?
- Function: Does the project actually do what it is supposed to do?
- Communication: Can another person easily understand your work?
Prioritize meaningful improvements before cosmetic ones.
If you have 30 minutes left, correcting an inaccurate explanation is more important than experimenting with five different title fonts.
Tip: Compare your project with the assignment rubric one more time before considering it finished. Check each requirement individually rather than assuming you remembered everything.
Step 11: Prepare to Explain What You Learned
A strong project is not just an object, poster, report, or slideshow. You should also understand the decisions behind it.
Prepare answers to questions such as:
- What was the goal of your project?
- Why did you choose this topic?
- What did you learn?
- What was the most difficult part?
- What problem did you encounter?
- How did you solve it?
- What evidence supports your conclusion?
- What would you change if you did the project again?
These questions help you reflect on the process rather than focusing only on the final product.
They are especially useful when your project includes an oral presentation or teacher questions.
Step 12: Use This Final School Project Checklist
Before submitting your work, complete one last review.
- ✓ My project clearly addresses the assignment.
- ✓ My topic is focused rather than overly broad.
- ✓ I can explain the main idea in my own words.
- ✓ Important information has been checked.
- ✓ Required sources are cited correctly.
- ✓ The project works as intended.
- ✓ I corrected important mistakes.
- ✓ The final product is organized and understandable.
- ✓ I followed the required format.
- ✓ I checked spelling, labels, calculations, and formatting.
- ✓ I compared the final project with the grading rubric.
- ✓ I am prepared to explain what I did and what I learned.
⚠ Final Warning: Do not let decoration replace substance. Attractive slides, elaborate models, and polished graphics can improve a project, but they cannot replace accurate information, clear thinking, meaningful work, and evidence that you understand the topic.
Turn Your School Project Idea Into Something You Can Finish
The best school project ideas for students are not necessarily the biggest or most complicated. A strong project has a clear purpose, fits the assignment, can be completed with available resources, and gives you an opportunity to demonstrate what you have learned.
Start with the requirements. Choose an interesting but manageable question. Plan the work, create a rough version early, test it, improve it, and leave enough time to review the final result.
If you are still unsure which project to choose, begin with three possible ideas. For each one, write the goal, final product, materials, expected difficulty, and time required. Eliminate ideas that are unrealistic and choose the one that gives you the best combination of interest, learning value, and feasibility.
Then take the first small action today. Choose the topic, write the question, find your first source, or sketch your first design. A successful school project usually becomes much easier once it stops being an idea and starts becoming a plan.